My Cart
You have no items in your shopping cart.
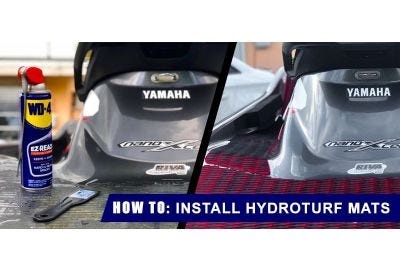
Believe it or not, installing a fresh set of Hydro-Turf traction mats is easier than you might think!
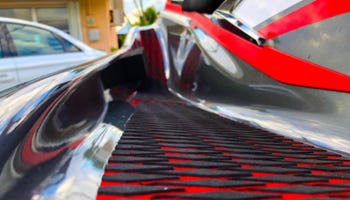
Today we’re installing Hydro-Turf red on black diamond cut traction mats with self-adhesive on our 2016 Yamaha VXS. Even for an inexperienced enthusiast, installing after market traction mats is a simple, do-it-yourself project that requires only a few cleaning products, a little elbow grease, and a lot of patience.
Time: Set aside an afternoon.
Difficulty: Easy

It may not be the most pleasant of tasks, but the finished product is definitely worth it. Here is a step-by-step guide to the approach that we found to work best!
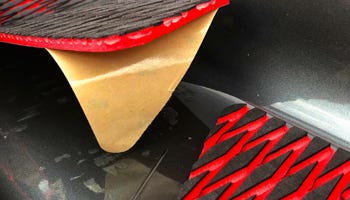
The first step, which is the most time consuming, is to remove the stock traction mats from the ski. If you’re lucky, the mats will simply peel right off, leaving no residue behind. Otherwise, the current mats will need a little work to remove. The first step, which is the most time consuming, is to remove the stock traction mats from the ski. If you’re lucky, the mats will simply peel right off, leaving no residue behind. Otherwise, the current mats will need a little work to remove.
If you’re dealing with stubborn mats, we recommend using WD-40 to help dissolve the adhesive. Using your fingers or a plastic putty knife, gently lift the edges of each matt so that the adhesive is exposed. Once slightly lifted, spray the WD-40 onto the sticky side of the mat and slide the putty knife underneath to begin lifting the mat from the surface of the ski. Continue to do this, sliding and spraying at the same time until the mat is completely lifted.
Another technique that works, especially if dealing with extra stubborn mats, is to use a hot metal putty knife to melt the adhesive. To do this, use a blow torch to heat a flexible metal putty knife, and slide it underneath the mats after the corners have been lifted using the technique above. when using this method, be extremely careful not to touch the edge of the putty knife to any exposed part of the ski, as it will cut right through the paint leaving marks.
Once the stock mats are removed, it is important to make sure that all foam residue is removed from the surface of the ski. The WD-40 works extremely well for this step, too. simply spray it onto the surface and use a stiff plastic putty knife to scrape off the foam residue.
The last step in preparation for the new mats is to clean the surface of the ski to ensure the new adhesive will stick. To do this, use Simple Green or another non-abrasive degreaser to remove any remaining chemicals and glue residue. Then, clean the surface once again with rubbing alcohol using a clean rag. Your ski is now ready for its new mats!
STEP 4
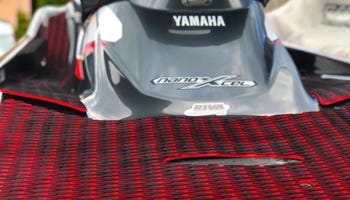
Before sticking the new Hydro-Turf mats down, line them up to make sure you have all the right pieces and that everything fits correctly. On our Yamaha VXS, we simply followed the manufacturers guide lines on the ski to lay out the new mats.
STEP 5
Once you’re convinced everything is where it is supposed to be, it’s time to stick them down! We chose the mats with self-adhesive because they are quick and easy to stick down. Simply peel off the backing and press down firmly to hold the mats in place.

WHEN YOU’RE DONE…
Allow them to sit for 24 hours before riding to make sure the adhesive sets, and voila, your ski will be looking fresh in no time!! Don’t forget to take some photos and tag @hydroturf #hydroturf on your favorite social media platforms!
Mat kits and other traction products are AVAILABLE HERE.